بخش بسیار زیادی از زندگی روزمره و عمر ما در بخش های داخلی یک ساختمان سپری می شود که این فضاها میبایستی محیطی آرام را برای ساکنین ایجاد کنند. برای این که زیبایی و تغییرات را در ساختمان ها ایجاد کنیم باید با متخصصان این حوزه در ارتباط باشیم. حال می خواهیم شما را بهترین شرکت طراحی دکوراسیون داخلی آشنا کنیم تا با تغییرات اصولی محیطی زیبا و پر از آرامش را برای خود به وجود آورید.
- اگر در خانه بزرگی زندگی میکنید، که قسمت های مجزایی دارد، میتوانید از چند سبک استفاده کنید.
- در واقع طراحی داخلی مهمترین بخش از بودجه گذاری کارفرما برای انجام پروژه است.
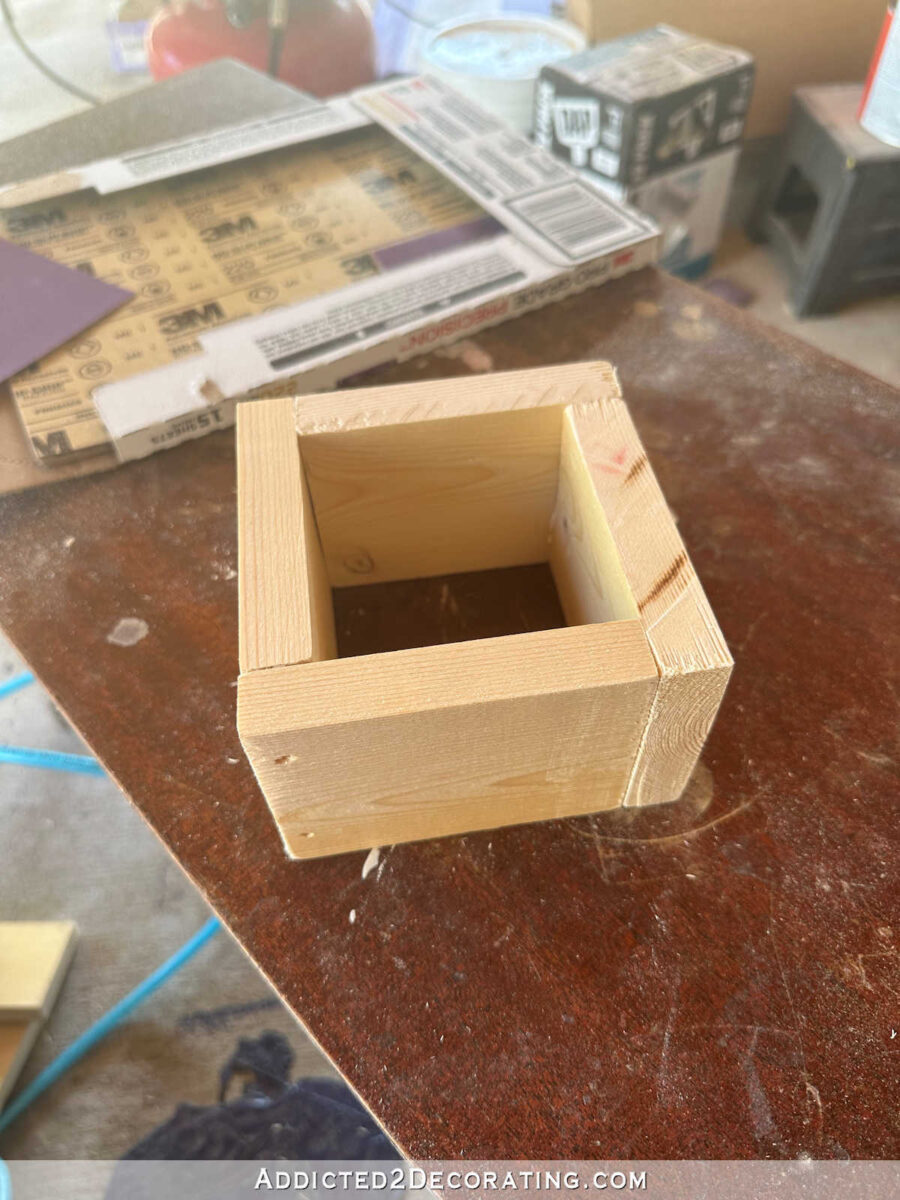
- برای دریافت خروجی بهتر توصیه میشود با یک نوارچسب رنگی جای مبلمان و اندازه آنها را روی کف تعیین کنید.
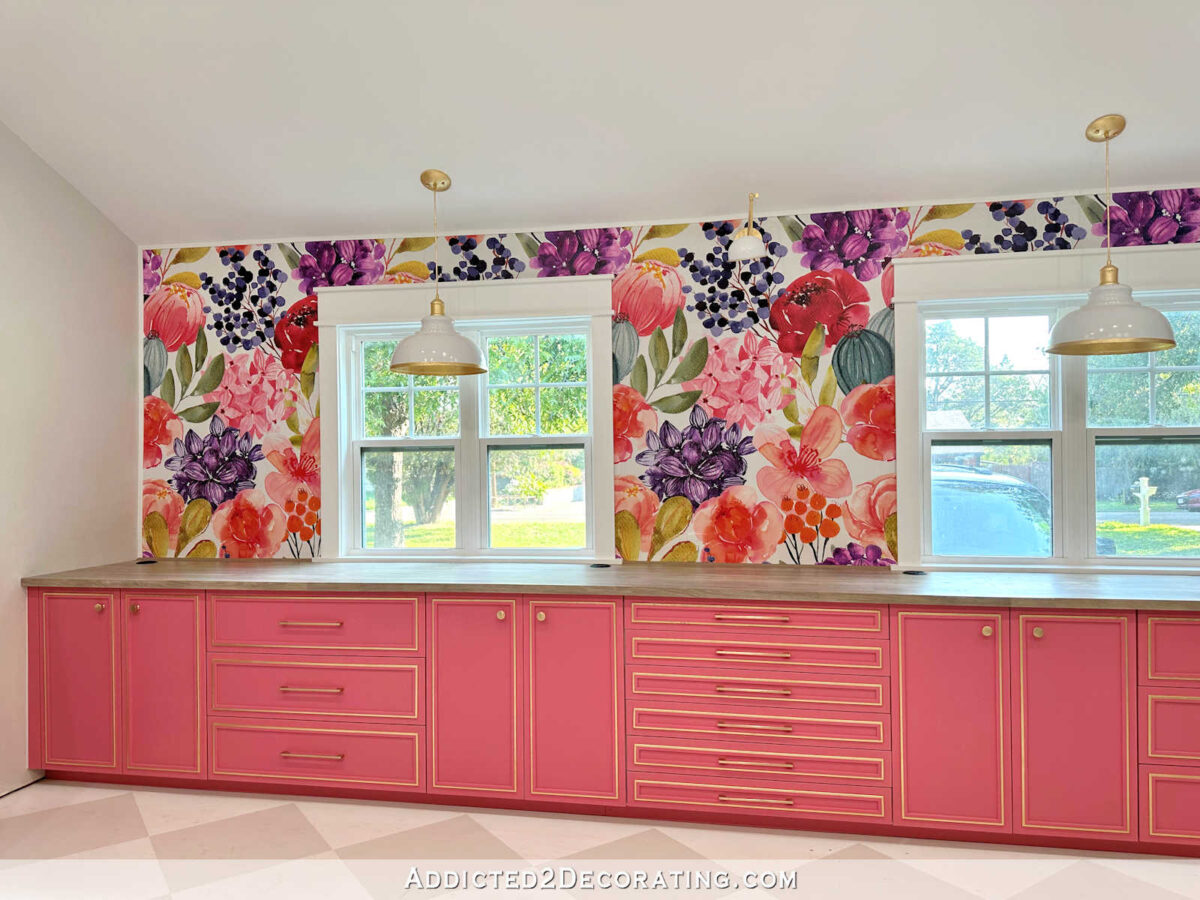
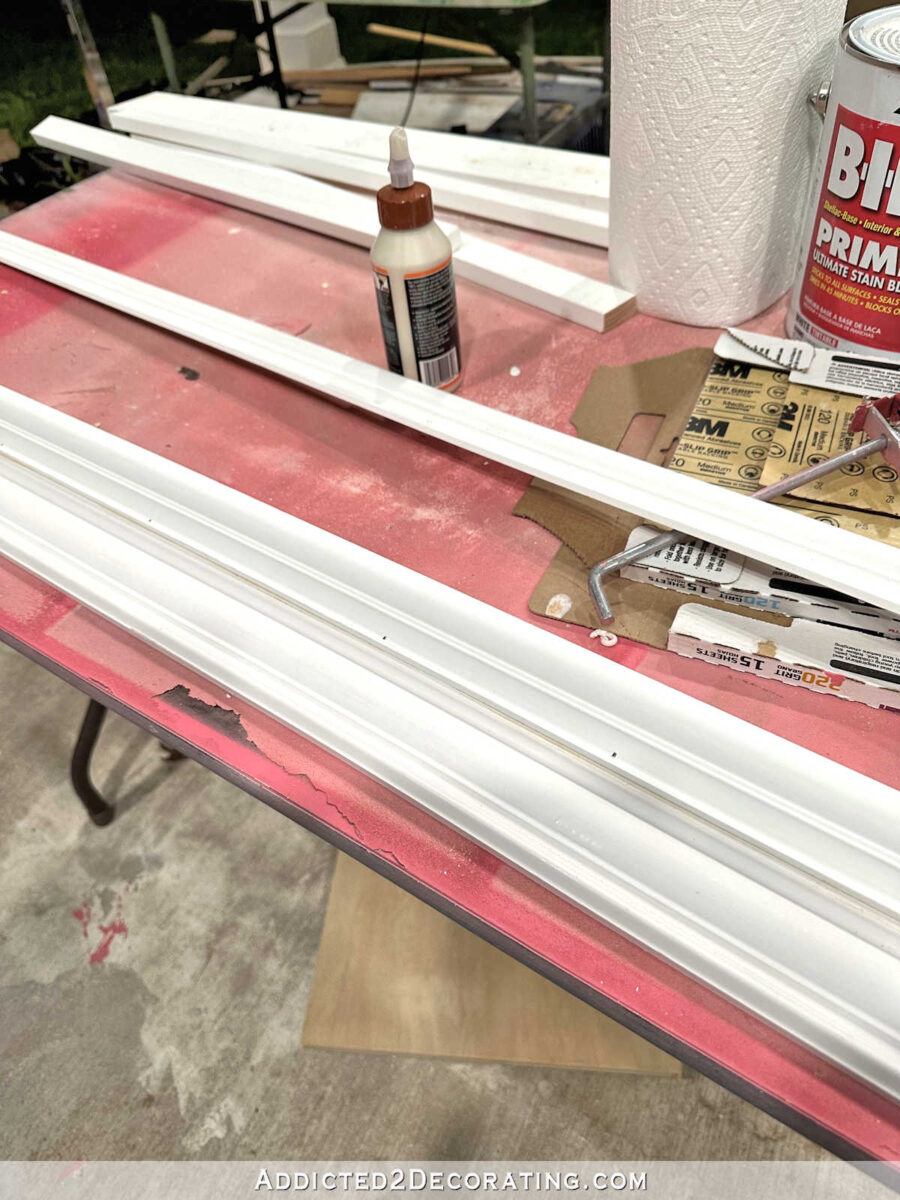
- داشتن دیوارهایی تمیز با رنگ و نقشهای زیبا میتواند جو خانه شما را بهکلی تغییر دهد.
- مواردی که در بالا اشاره شد، باعث به وجود آمدن یک رقابت بسیار دشوار شده است.
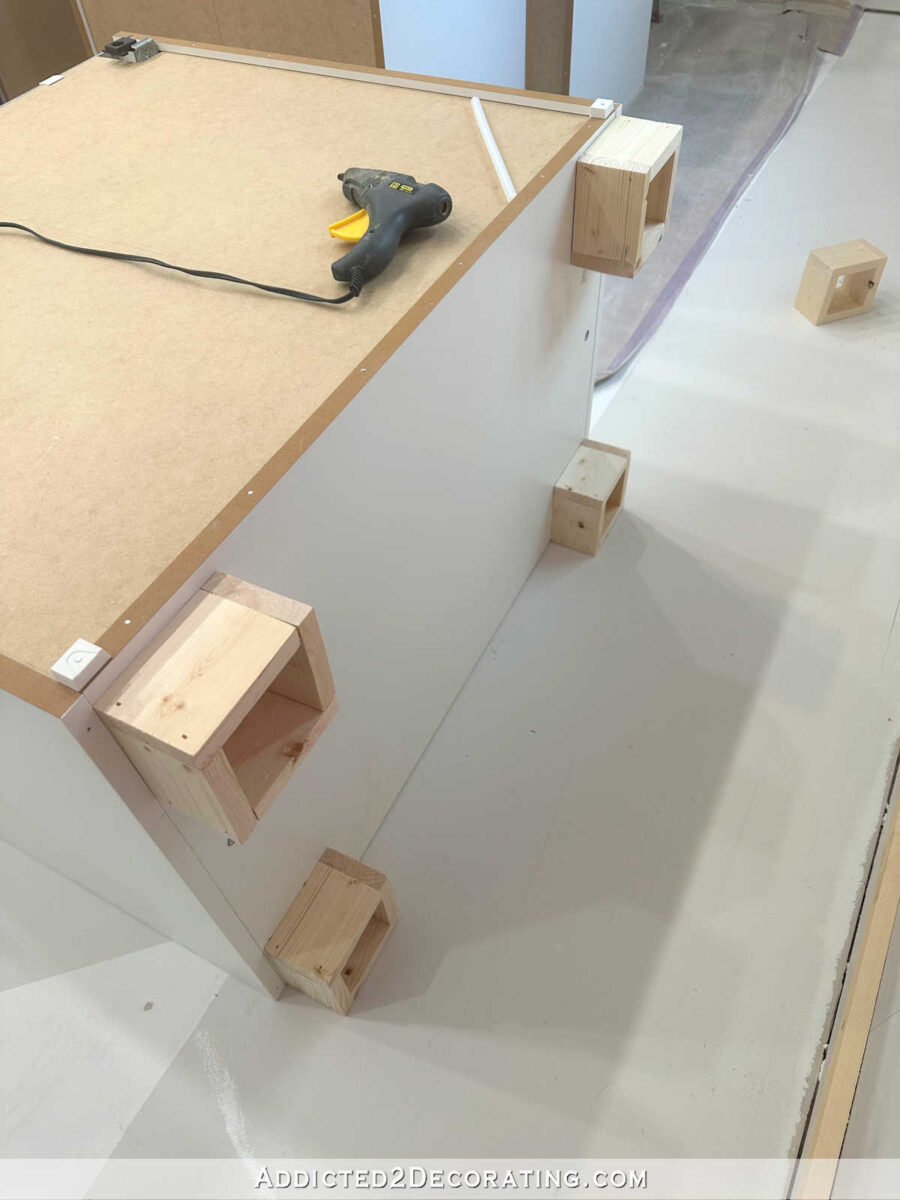
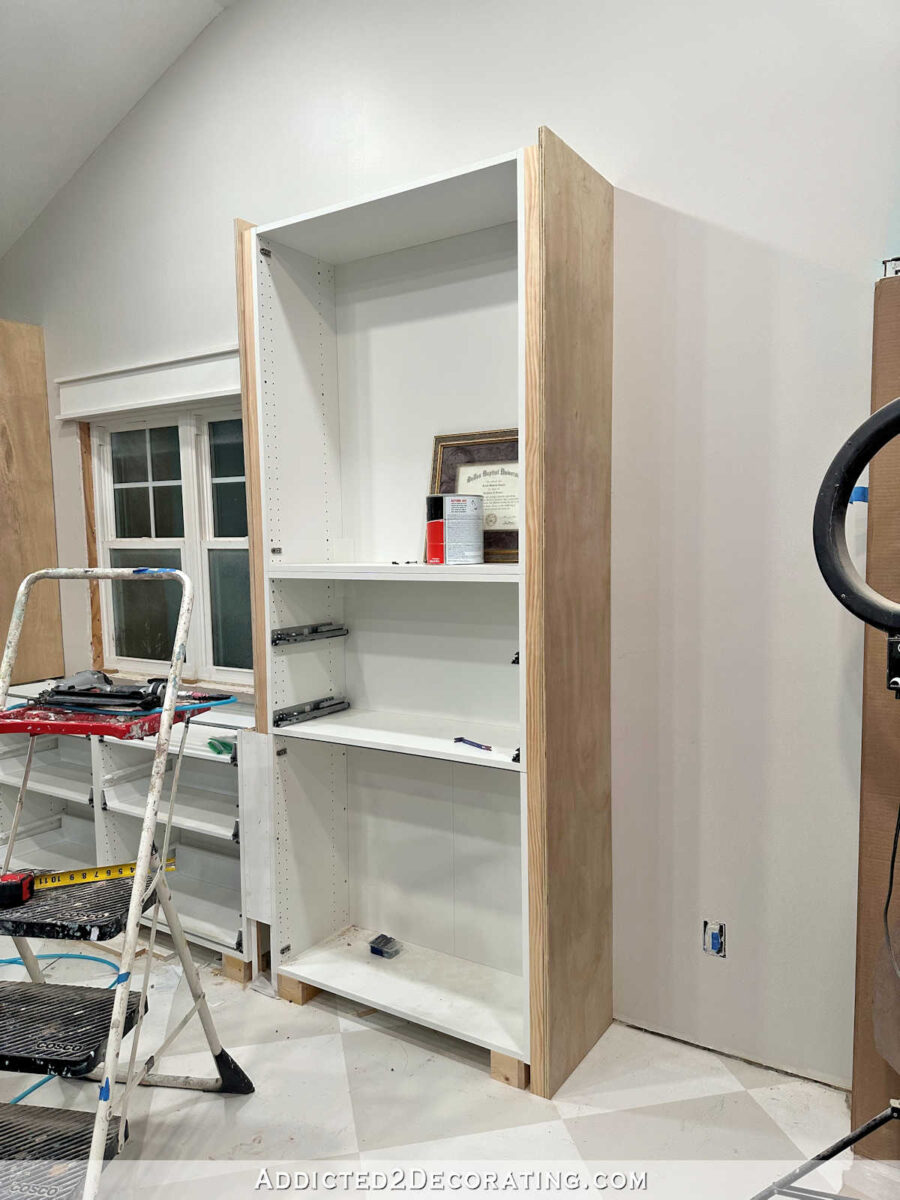
شاید فکر کنید چیدن یک خانه که کاری نداره و از هر کسی برمیاد، پس خودمون خیلی راحت میتونیم خانه رو دکور کنیم. اگر شما هم تسلط کافی به این حیطه دارین، مسلما میتونید هر فضایی رو دکور کنید اما همیشه مراجعه به متخصص، درحالی که خودتون هم آگاهی نسبی از موضوع داشته باشین، نتیجه بهتری دربر داره. در ساختمانهای قدیمی، کمد دیواری بهوسیلهی دیوارکشی و چهارچوب فلزی انجام میشد که این متریال ها موجب کوچک شدن فضای اتاق میشدند.
همچنین برآورد دقیق قیمت با استفاده از طراحی سه بعدی بسیار دقیق صورت میگیرد و مانع از اختلاف بین کارفرما و پیمانکار پس از اتمام کار میشود. هر یک از بخش های ساختمان میتواند بطور خاص و یا هماهنگ با دیگر بخش ها طراحی شود. به عنوان مثال در طراحی دکوراسیون منزل میتوان فقط محوطه سازی را انجام داد و یا فقط طراحی سه بعدی دکوراسیون سرویس بهداشتی انجام شود. همچنین طراحی دکوراسیون داخلی میتواند به صورت کلی شامل طراحی داخلی اداری و یا به صورت جزئی بطور مثال شامل طراحی داخلی اتاق انتظار مطب باشد. مهندس طراح داخلی ابتدا به واسطه ضوابط و استانداردها و همچنین نیاز ساکنین اقدام به طراحی داخلی توسط نرم افزار های نقشه کشی و یا دستی میکند.
ویژگی های این سبک
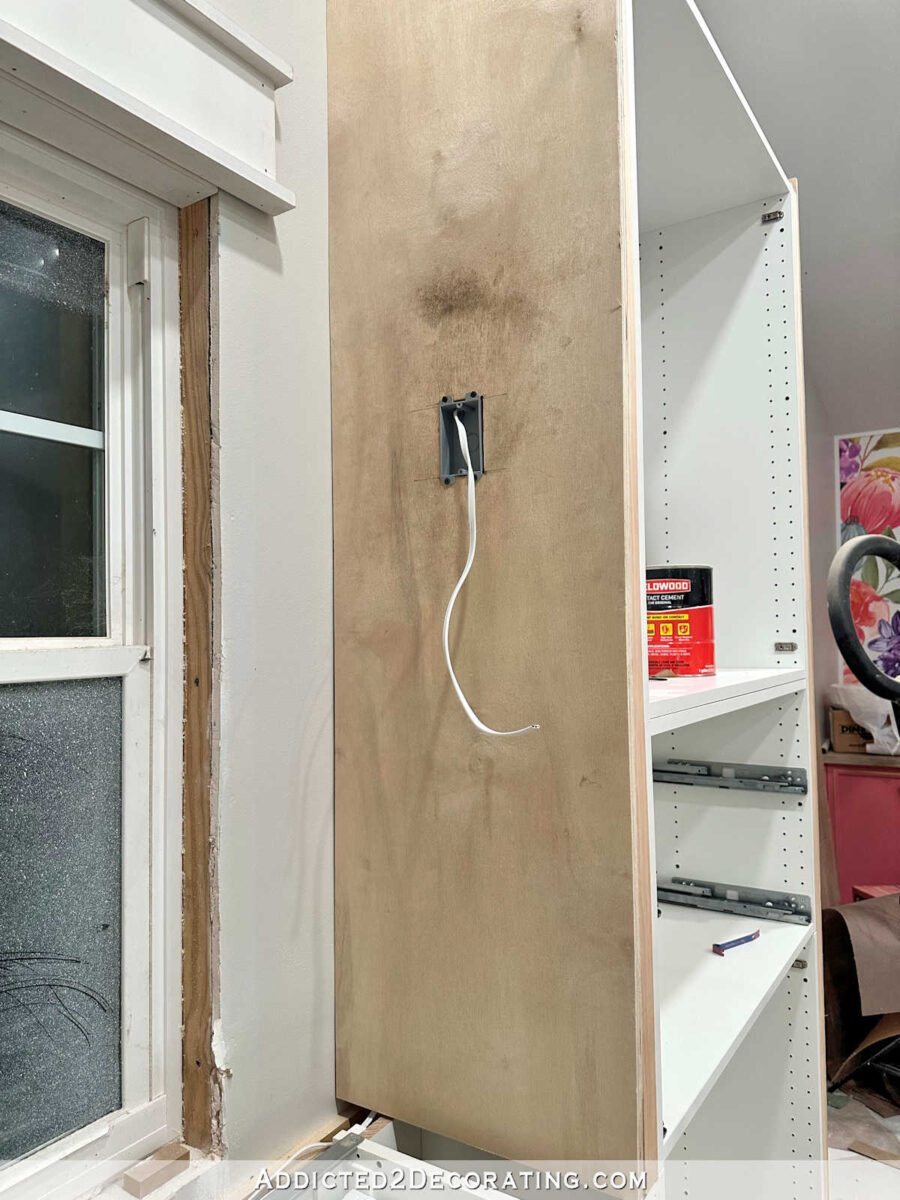
این مسئله موجب میشود که رغبت بیشتری نسبت به حضور در آن مکان و انجام کارهای روزمره در خود ایجاد کنند. بدان معنا که سطح دیوار بهاندازهای تخریب شود که به قسمت آجری آن برسد. زیرا ستونهای ساختمان که موجب استحکام ساختمان شما هستند روی آنها قرار دارند و وظیفهی تحمل وزن سازه ساختمان را بر عهدهدارند. کوسنهای لوکس، نورافشانهای نفیس و یک شومینه بسیار بزرگ کار را تکمیل میکند. سبز زمردی تیره و رنگ دیگر جواهرات خیلی رایج هستند بهخصوص وقتی با مواد طبیعی دیگر مثل یشم و ابسدین ترکیب شود. آرت دکو از فرانسه آغاز میشود به همین دلیل وقتی میگوییم c’est magnifique (زیبا است) جدی میگوییم.
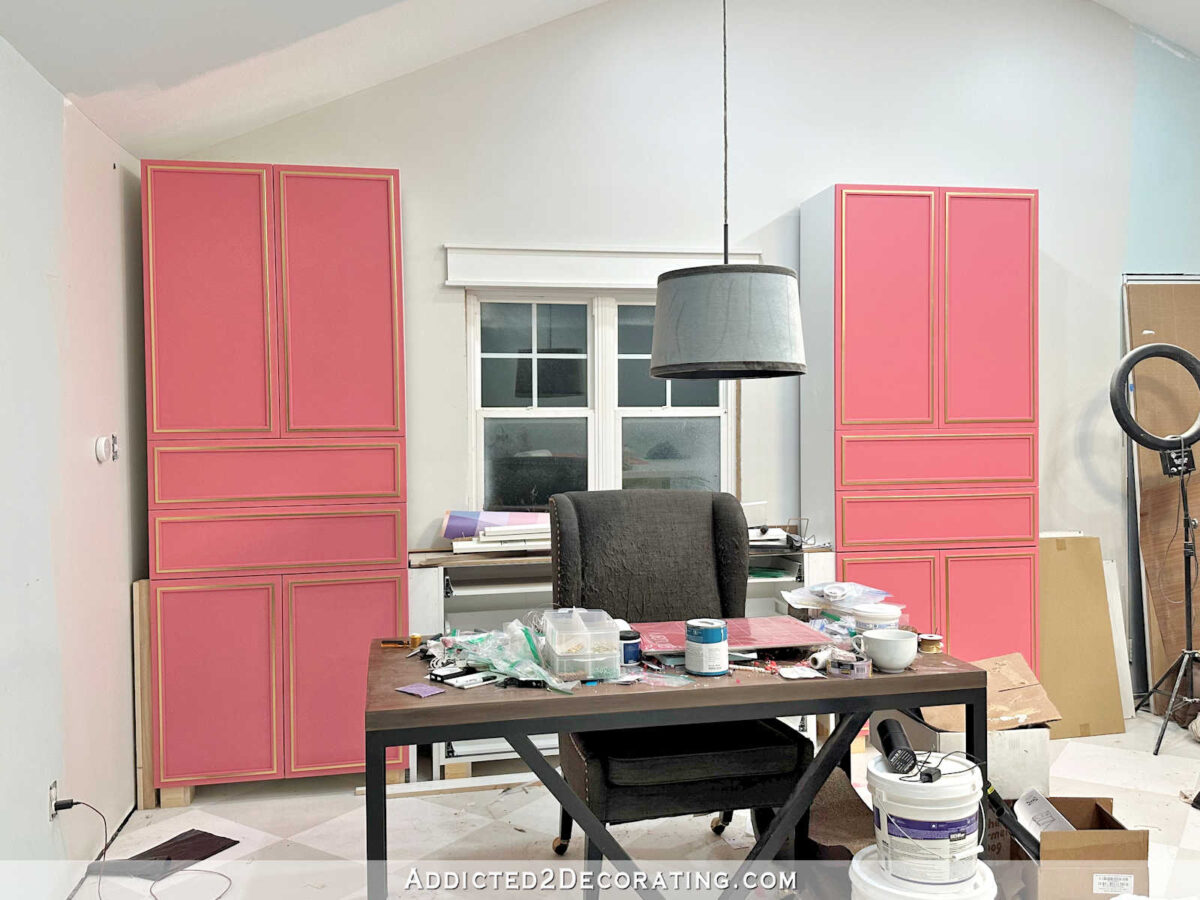
قدم بعدی تعیین کل هزینهای است که برای طراحی دکوراسیون منزل در نظر گرفتهاید و تعیین حدود مبلغ برای هر یک از وسایل موردنظر است. این کار میتواند شمارا در اخذ تصمیم درست و رعایت بایدها و نبایدهای طراحی دکوراسیون منزل کمک کند. بله صفر تا صد طراحی ویلا جناب مومنی با شرکت معماری هیرادانا بوده. جهت اطلاع از قیمت ها به تلگرام پیام بدید که ضمن مشاوره رایگان طبق متراژ منزلتون پیش فاکتور طراحی دکوراسیون منزلتون ارسال بشه خدمتتون. از این سبک بیشتر در منازل ویلایی و بسیار بزرگ استفاده میشود. در این سبک شاهد خودنمایی سبک دکوراسیون کلاسیک به روش مدرن خواهیم بود.
برای چیدمان مبلمان در فضاهای بزرگ چکار کنیم ؟
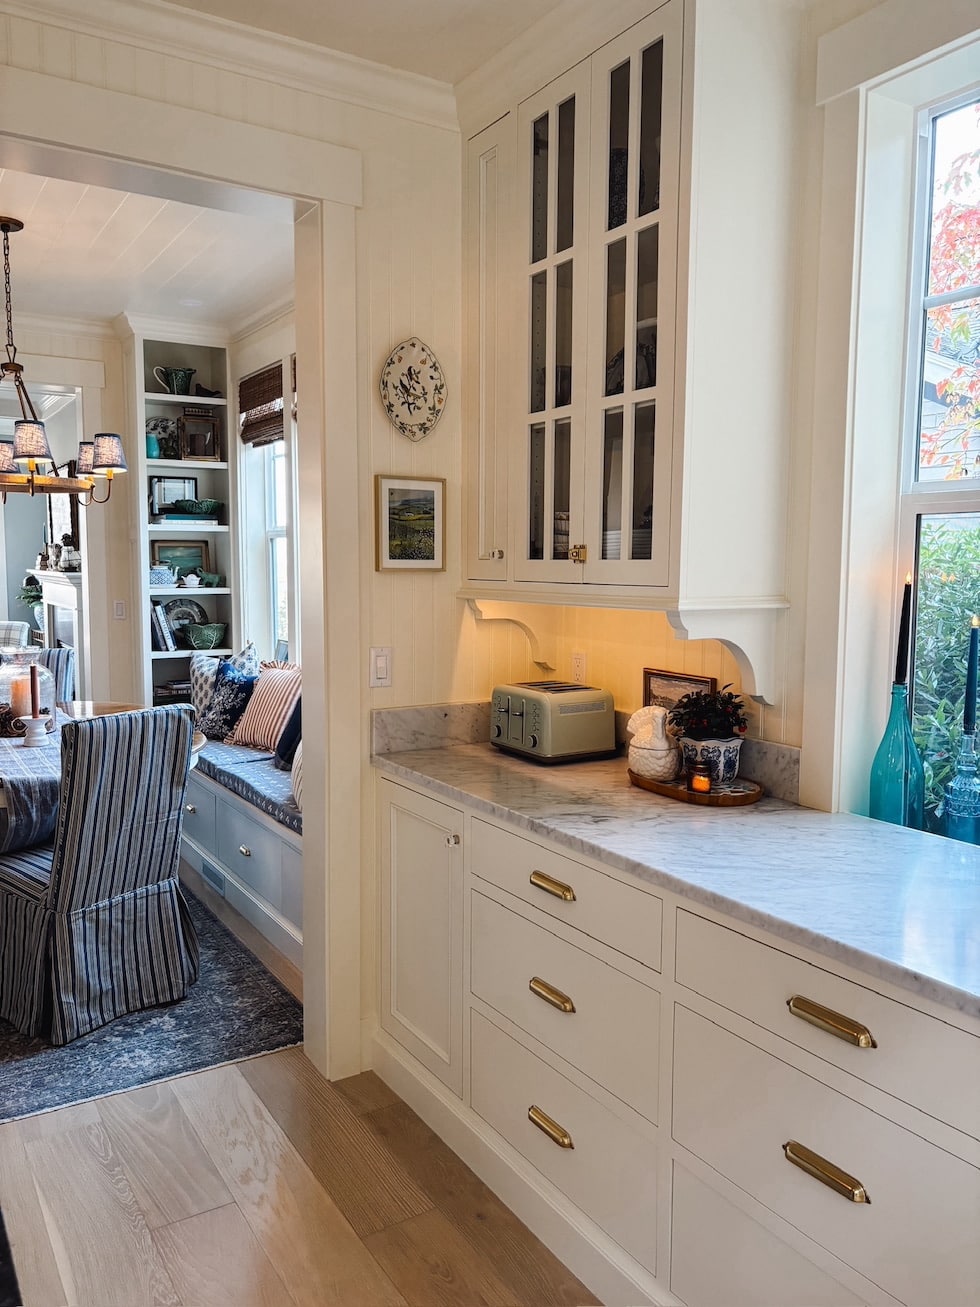
برای کمک به این مساله از نورهای زیرکابینتی هم میشه استفاده کرد. سبک تروپیکال یا استوایی سبکی زنده و جسور با رنگهای شاد و تند هست، مثل زرد، نارنجی و سبز روشن. وسایل و مبلمانی که بیشتر از بامبو یا حصیر، خیزران و ساج ساخته میشن. گیاهها نقش تعیینکنندهای در این سبک دارن و بهتره فضای بیرون رو به درون بیارین. سبک یا مکتب ذن ریشه در فرهنگ ژاپنی داره و خب در آسیای شرقی بیشتر از هر جای دیگه طرفدار پیدا کرده.
طراحی دکوراسیون داخلی منزل به سبک کلاسیک-لرستان
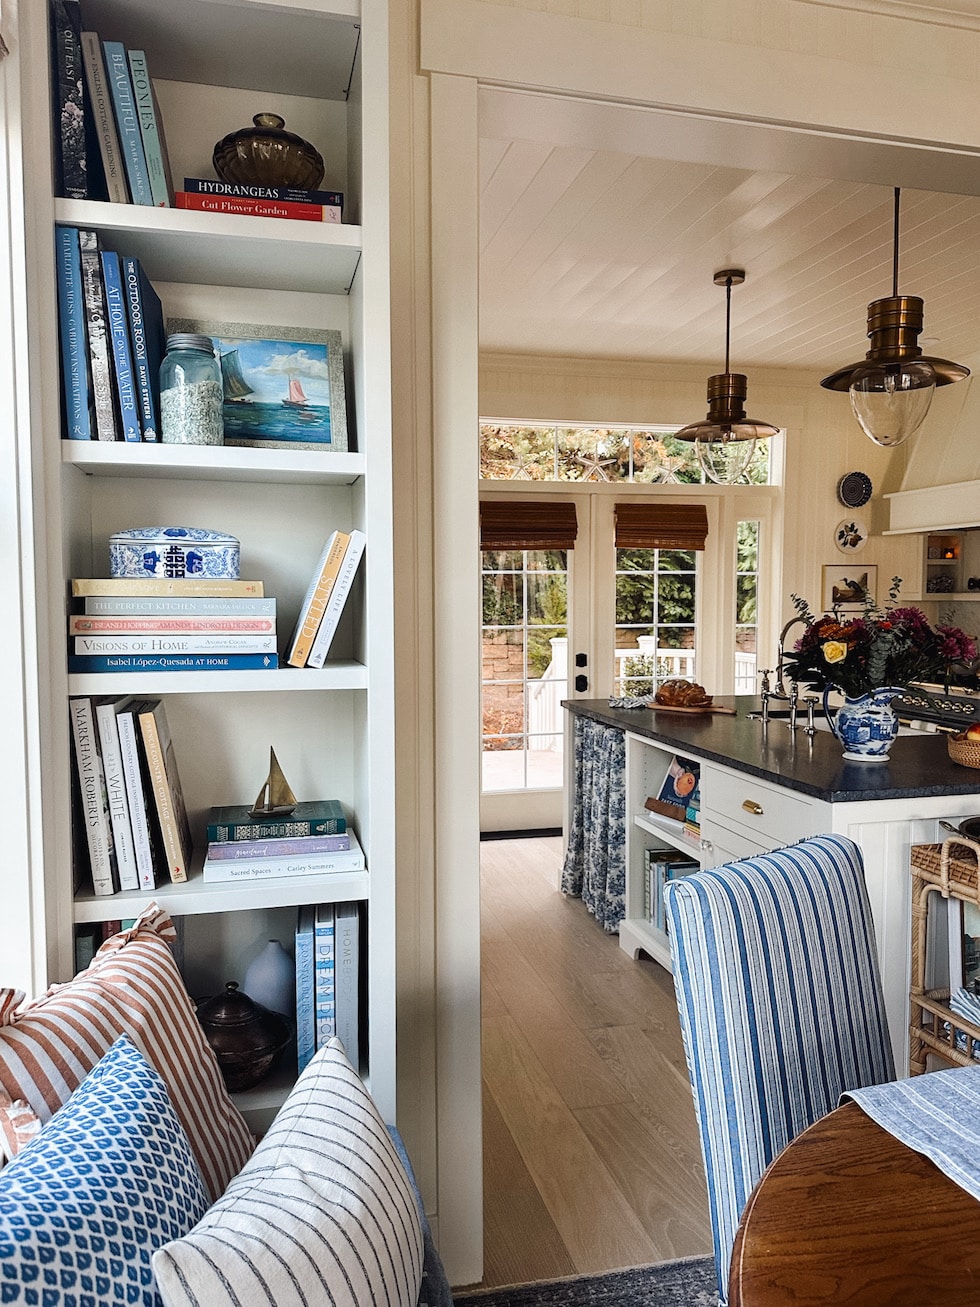
مهمترین نکته در مبحث دکوراسیون داخلی، شناختن سبکهای دکوراسیون داخلی است. در واقع اولین قدم این است که با کارفرما صحبت میکنیم، که سلیقه کارفرما چیست؟ و کدام سبک موردپسند اوست؟ در میان سبکها، سه سبک کلاسیک، نئوکلاسیک و مدرن، پر طرفدارترین سبکهایی هستند که عموم مردم از آنها پیروی میکنند و مدنظرشان است. یکی از سبک هایی که در دکوراسیون داخلی استفاده می شود سبک دکوراسیون مینیمال می باشد. در طراحی و دکوراسیون داخلی به سبک روستیک معمولا دکوراسیون را به نوعی نوستالژیک و رنگ و رو رفته جلوه میدهند، این یکی از ویژگیهای سبک روستیک است. به همین دلیل نیز انتخاب مبلمان در این فضا کار چندان مشکلی به نظر نمیرسد، معمولا مبلمان های چوبی، بامبو، سنگی و … در این سبک دکوراسیون زیاد دیده میشود. البته استفاده از مبلمان های فلزی پرداخت شده نیز در این سبک بسیار شایع است.
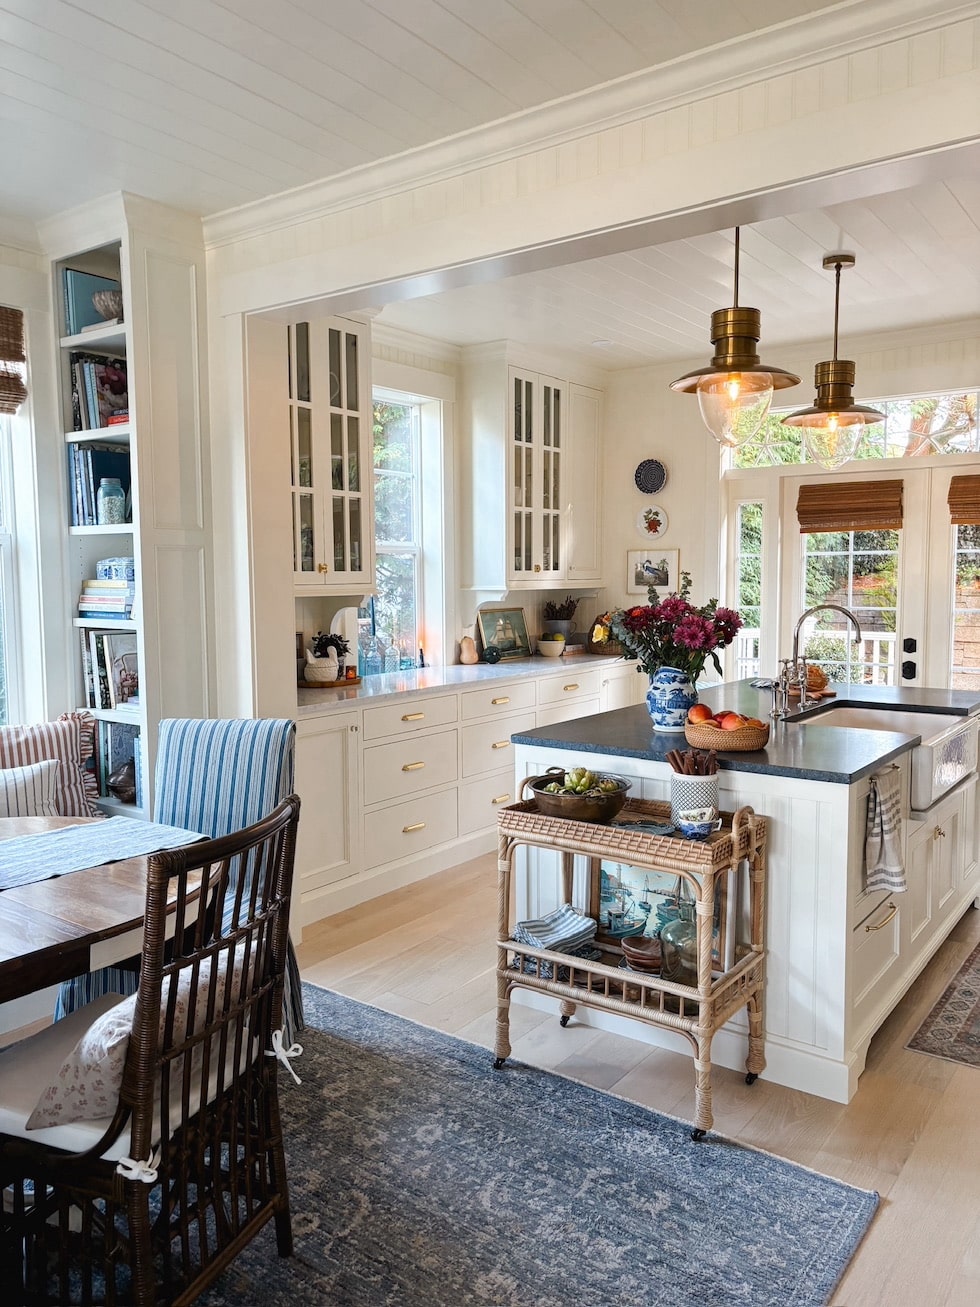
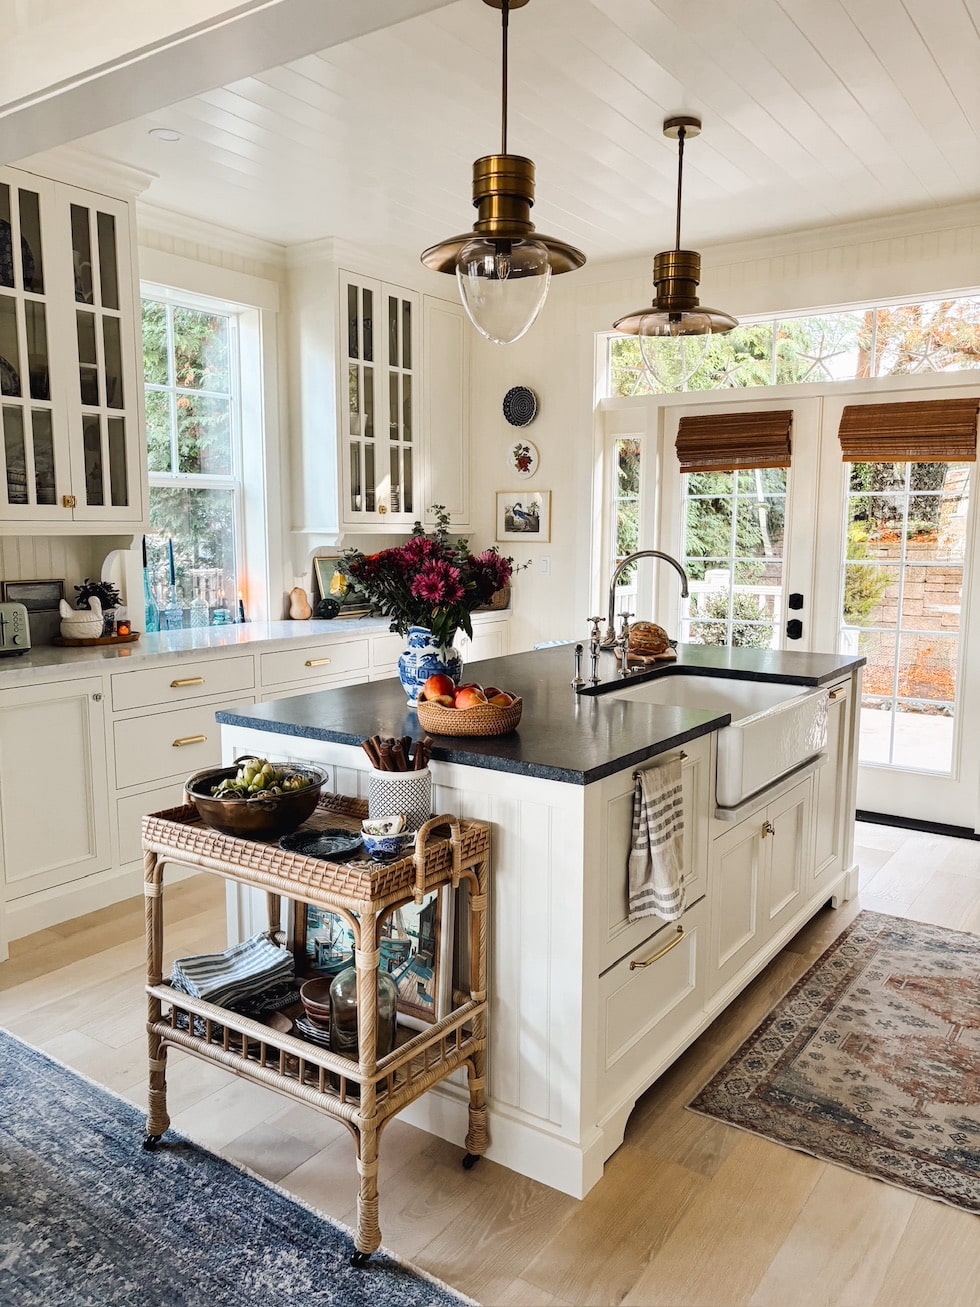
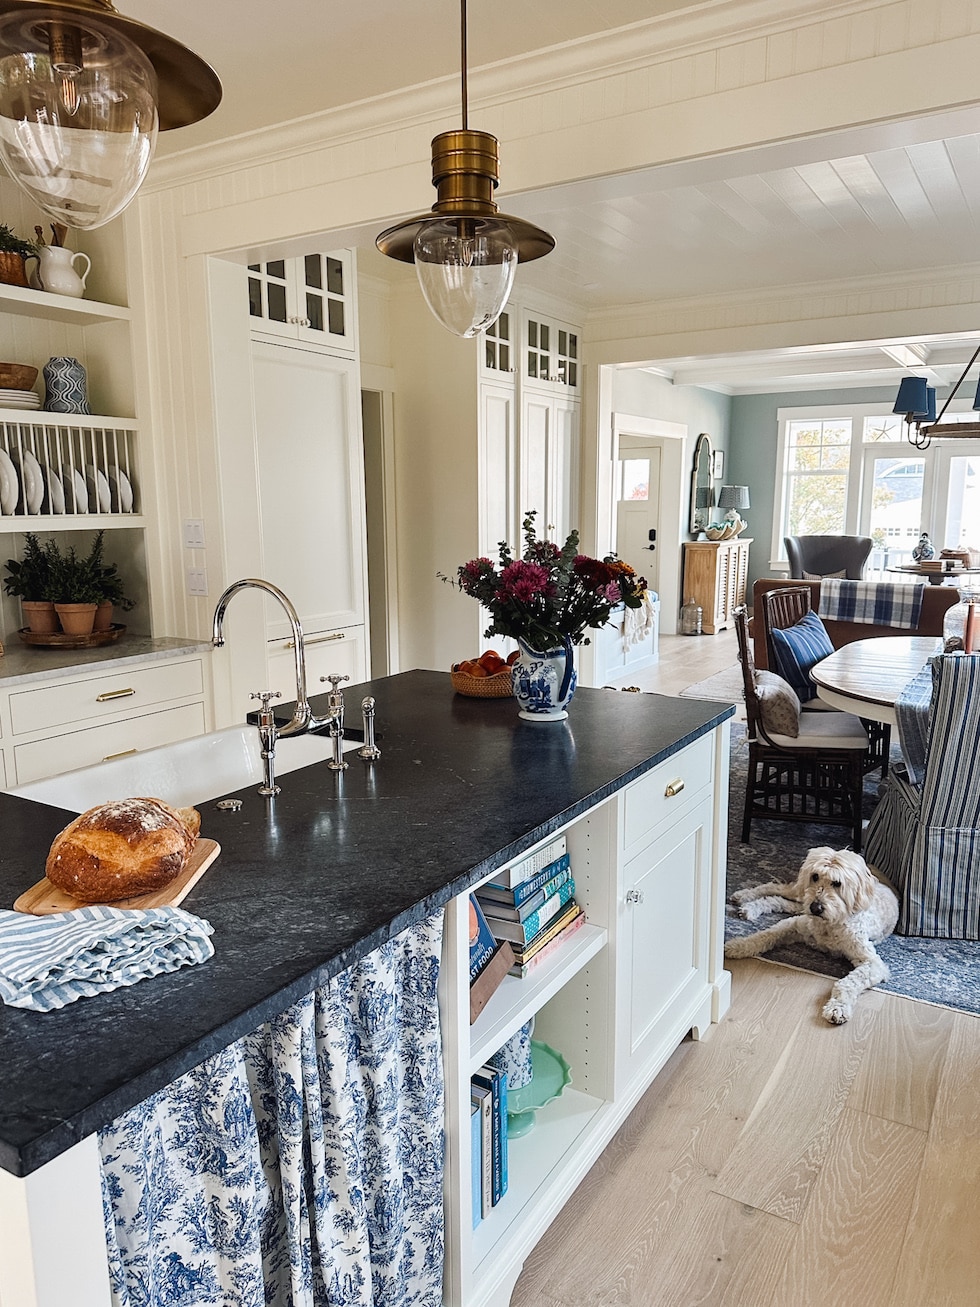
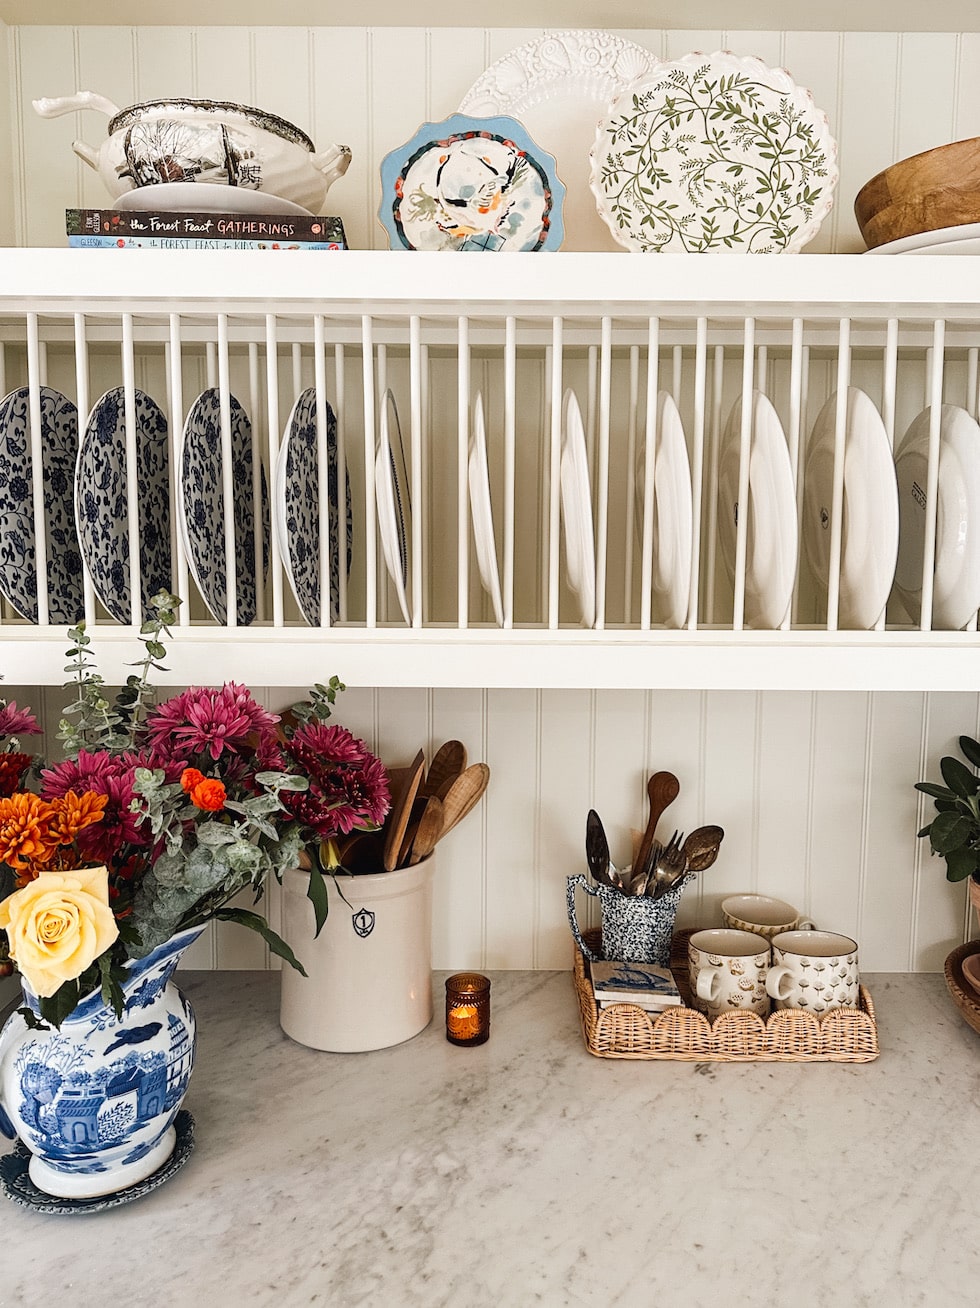
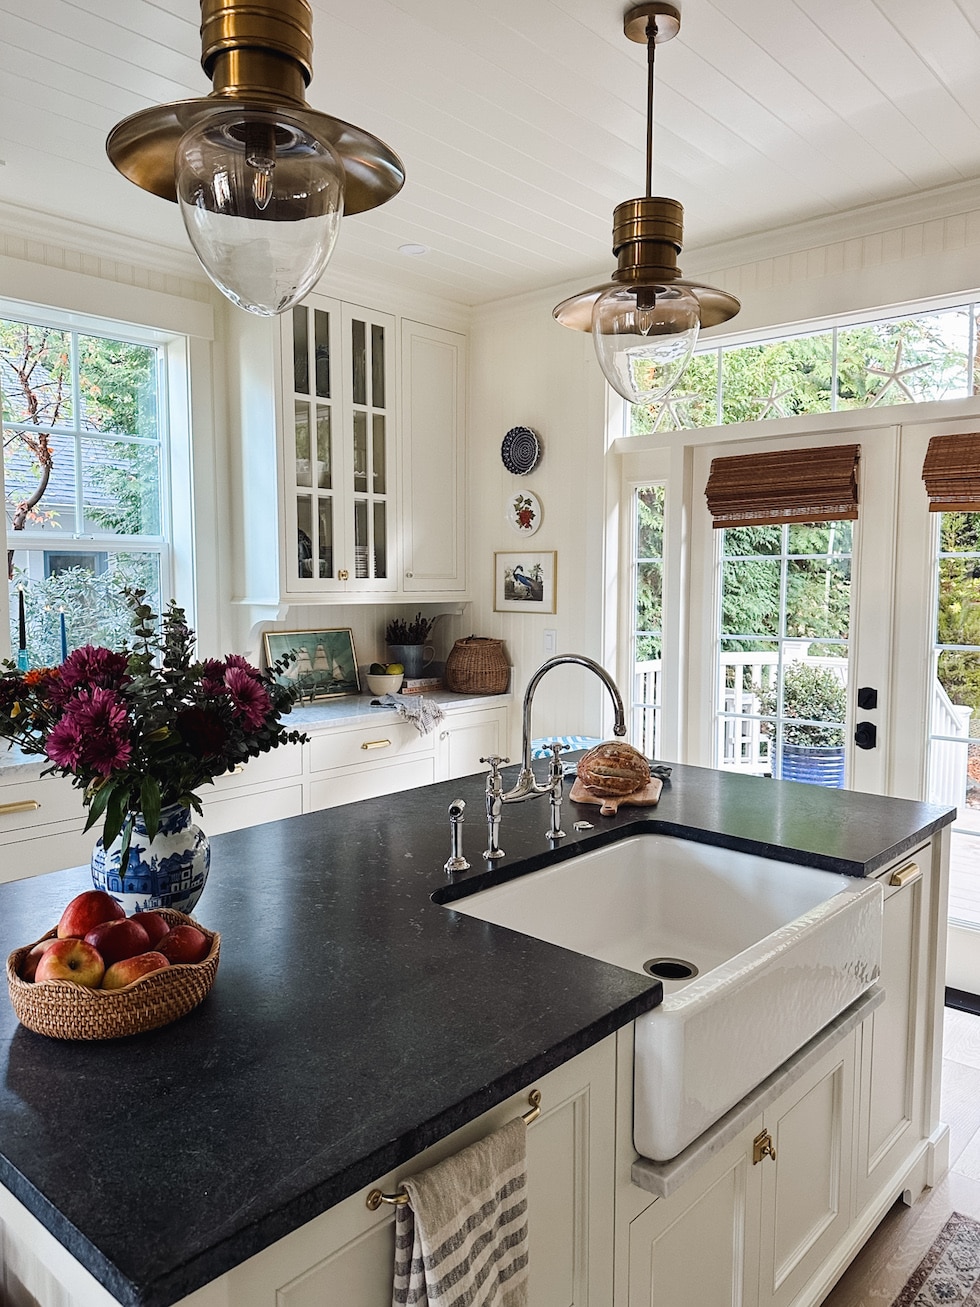
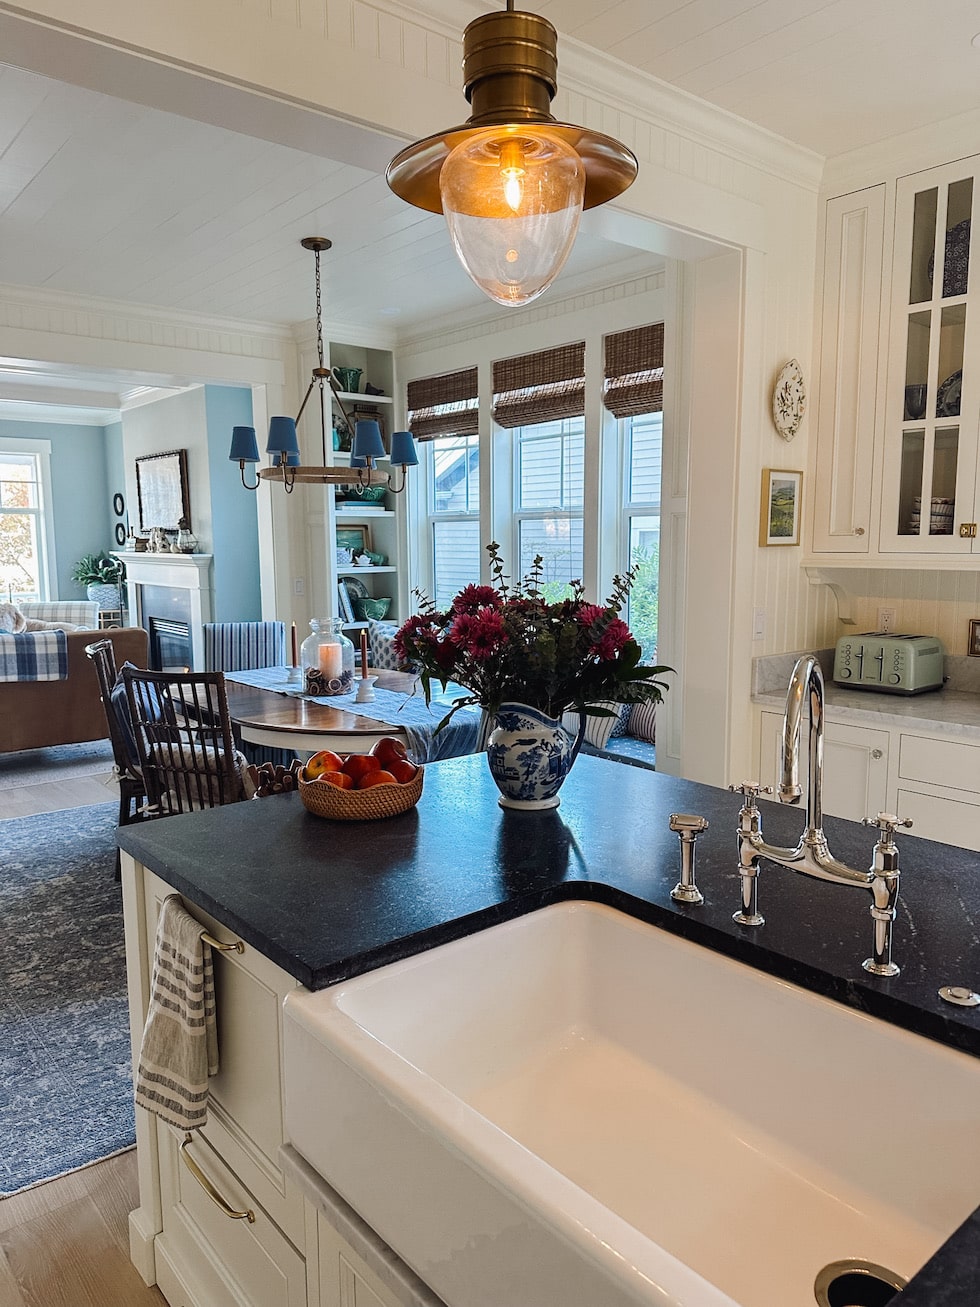
شاید آشپزخانه یکی از جاهایی باشه که سبک دکوراسیون داخلی در اون بیشترین نمود رو داره، چون در ظاهر فضا کاملا تفاوت ایجاد میکنه. سبکهای سنتی و کلاسیک پر از جزئیات، حکاکی، خط و خطوط تزئینی هستن، در صورتی که آشپزخانه های مدرن در نهایت سادگی اجرا میشن. متریال مورد استفاده در گذشته بیشتر چوب با رنگهای طبیعی بوده و به همین دلیل اکثر آشپزخانهها فضایی تیره داشتن اما امروزه متریال مختلف مثل امدیاف باعث شده تنوع رنگی هم افزایش پیدا کنه. سبکی که بیشتر به عملکرد وسایل و اثاثه تاکید دارد نه زیبایی محیط.این سبک مناسب آپارتمان های کوچک و افرادی است که تمایلی برای هزینه اضافی برای طراحی دکوراسیون منزل ندارند.
در قسمت بازسازی خانه و سرویس بهداشتی، درصورتیکه متخصصان پس از مشاهدهی حمام و سرویس بهداشتی، تشخیص تعویض تأسیسات و شیرآلات موجود را دادند بایستی این موضوع عملی شود. در بحث کف ساختمان نیز میتوان از انواع سنگ، سرامیک یا پارکت بهعنوان کفپوش استفاده کرد. اگر خانه ای که در حال بازسازی آن هستید دارای یک ساختار کلاسیک است.