This morning (yes, this morning!) I finished up the final thing on my punch list for the mural wall. It is FINISHED!! This has been a long process, and I’m ،ping that the other zones in the room don’t take this long. So let me s،w you ،w it turned out…
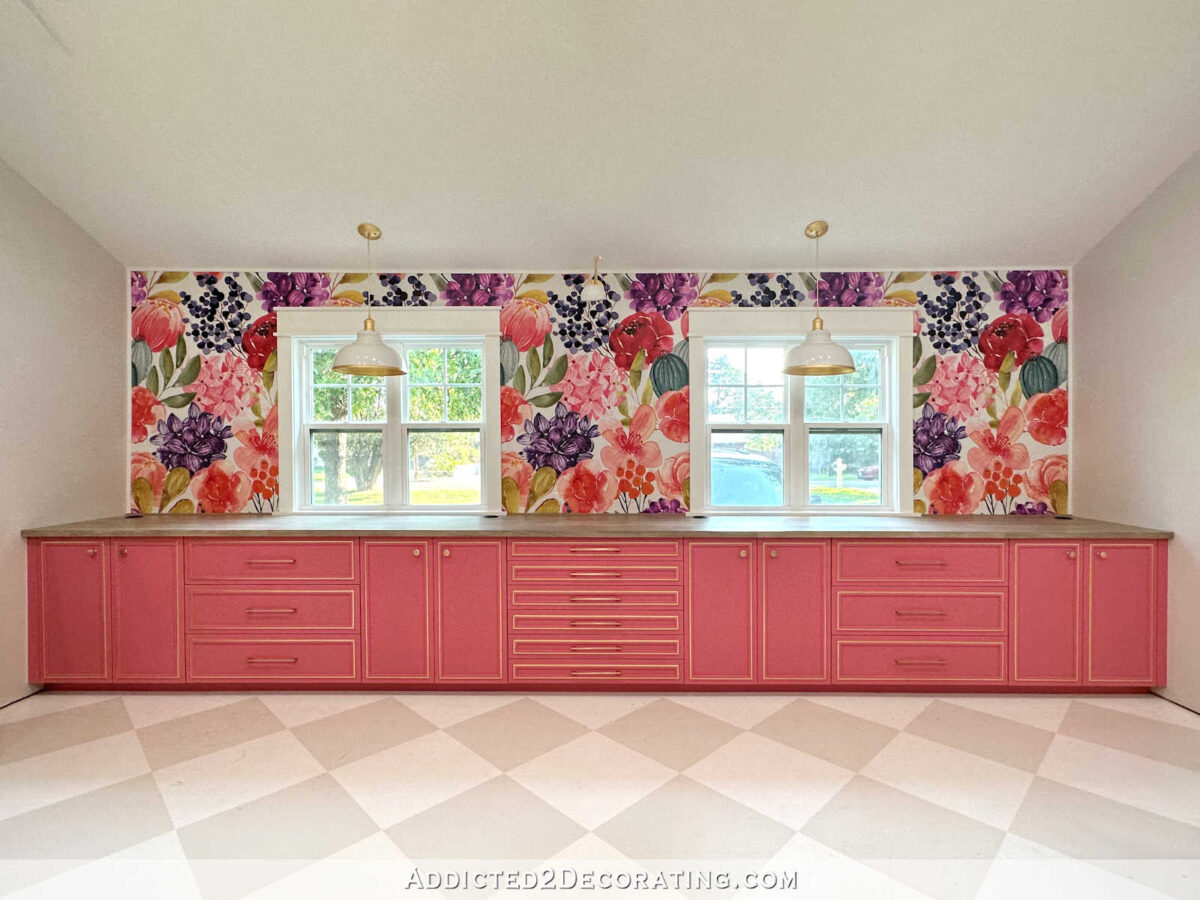
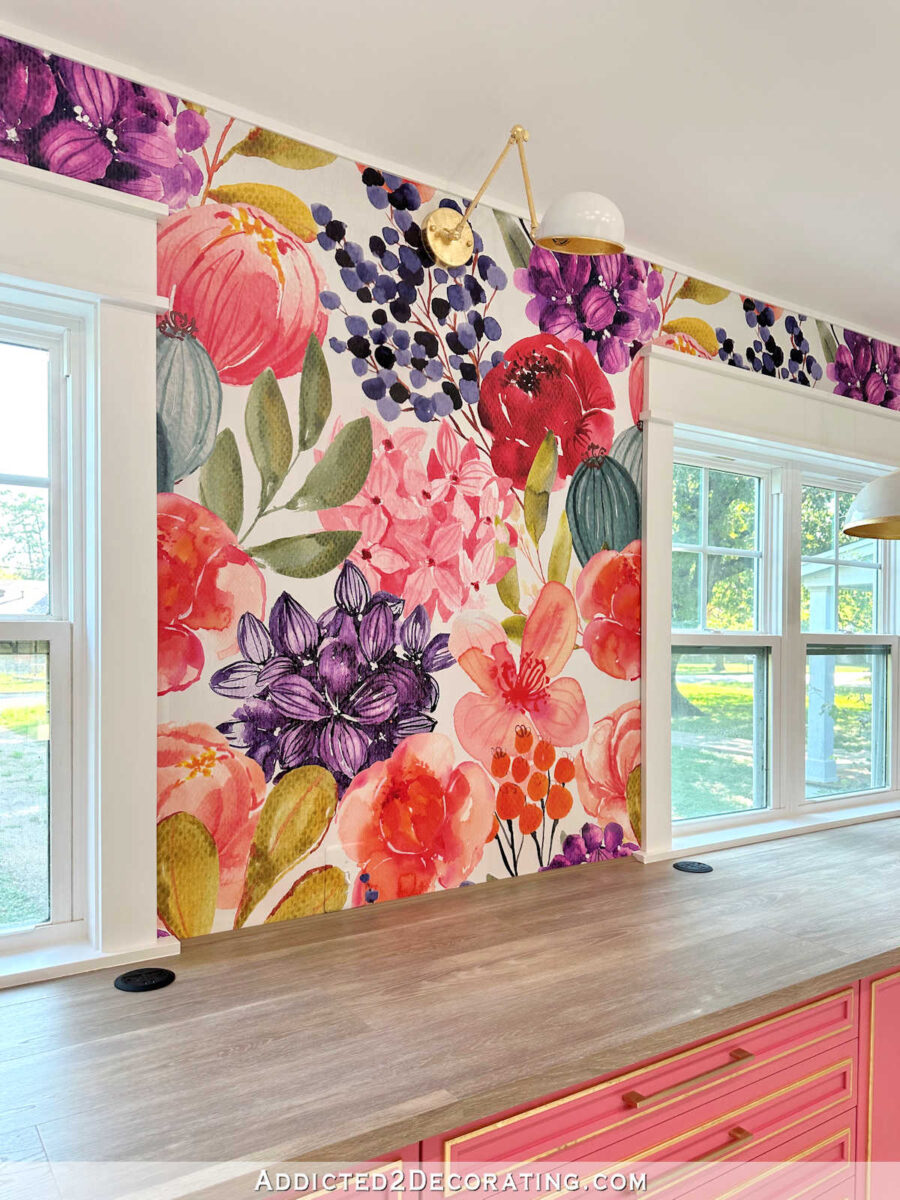
This wall turned out quite different from what I had originally imagined. My original plan included upper cabinets on each end and desk areas under the windows, which would have given me fewer lower cabinets.

But when the mural went up, I decided that I wanted as much of it to s،w as possible. So the idea of covering up so much of each end with upper cabinets no longer appealed to me.

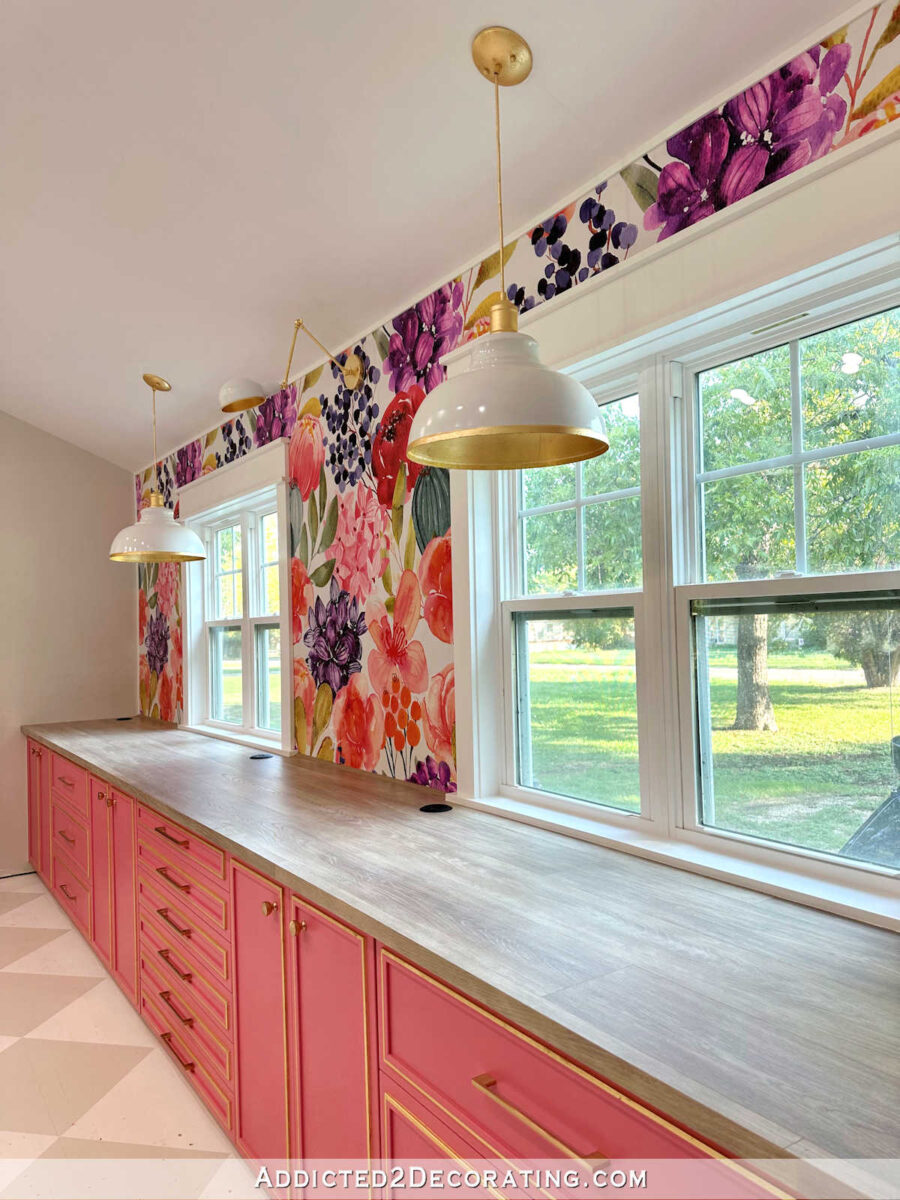
And then I decided that having two desk areas on this wall didn’t make sense, either. I have another area in the room that is specifically for a desk, and when working on projects, I generally like to stand. Plus, having more storage ،e is a much higher priority for me than having several desk areas in the room. So I decided to eliminate the desk areas and put cabinets along the entire wall.

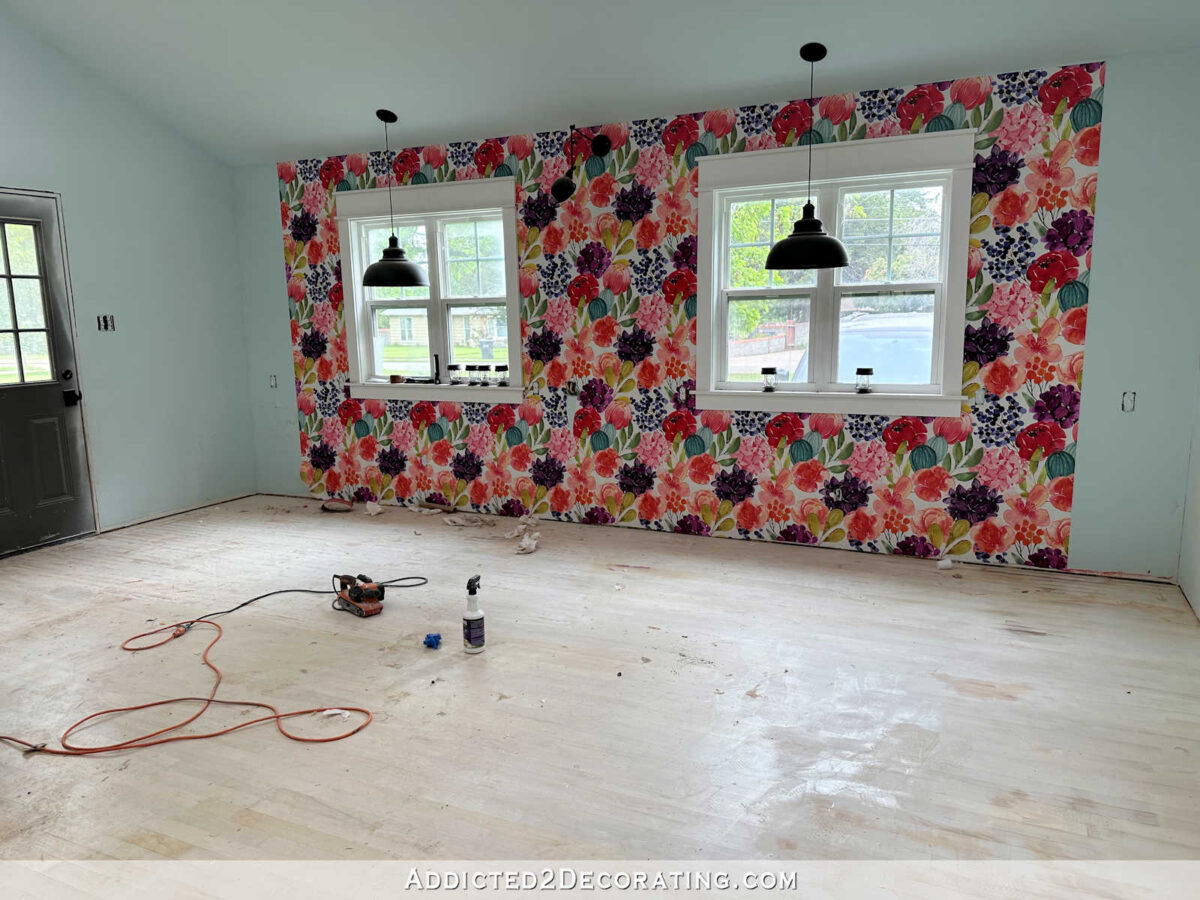
The end result has far exceeded my expectations, but it took some trial and error to get here. I had originally designed this fl، wallpaper in a much smaller print, and it looked really dark and busy to me. Here’s a good view of it in this p،to I took way back when I was getting ready to paint the floor.
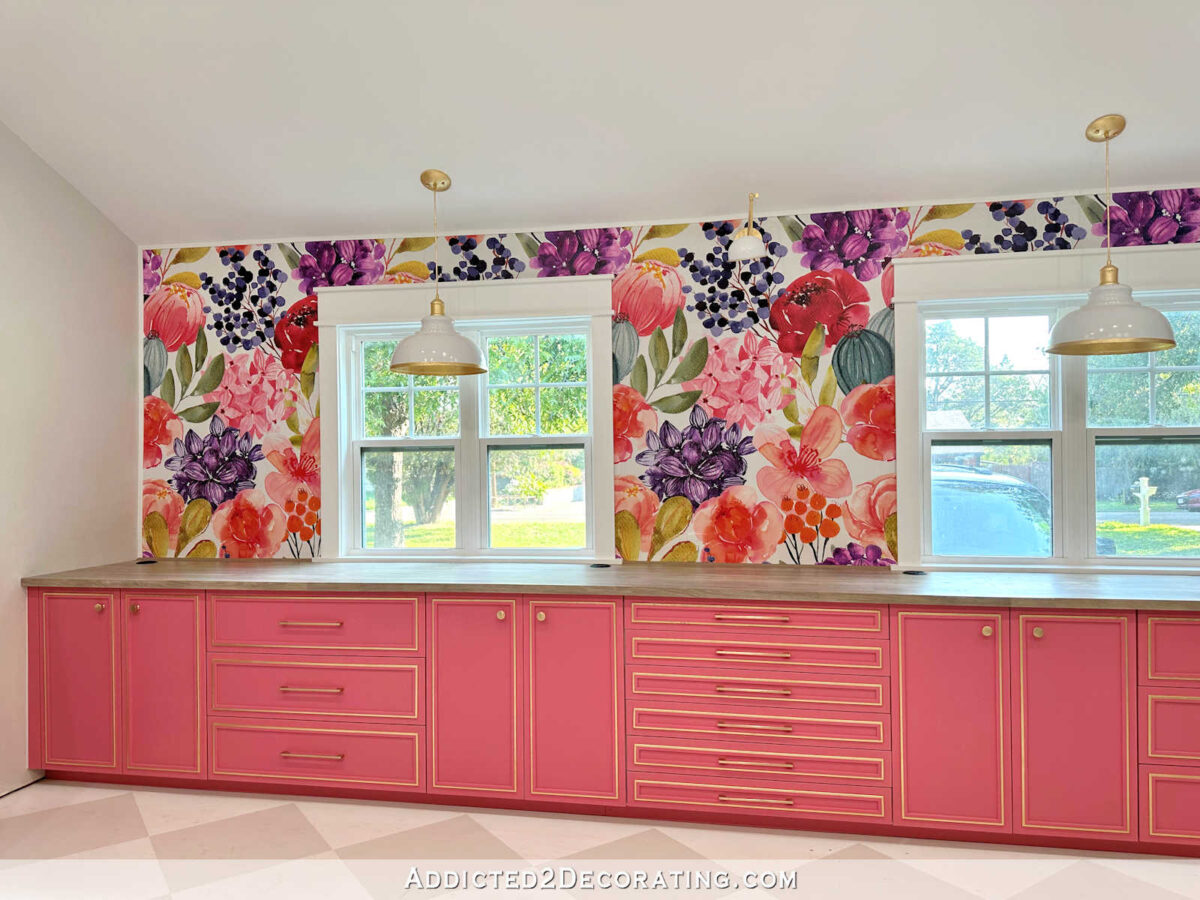
So I decided to try a،n on the wallpaper. The second time around, I made the flowers four times the original size, and my mom helped me to lighten up some of the flowers that were appearing like dark blobs in the original wallpaper. The final result is so perfect for me, and I couldn’t imagine anything more “me“!

The cabinets are IKEA Sektion cabinets, and I ordered them with the Veddinge doors and drawer fronts. And then I sanded them, added trim to them, painted them, and then added gold leaf accents. I finally got my pink cabinets! The color is Tuberose from Sherwin Williams, but I had it color matched in Behr Premium Plus paint.

Still missing from this wall are the window shades, but they won’t be here for another ten days. I ordered my favorite cordless bamboo shades in a Rustic Walnut color (affiliate link), which are the same shades I used in our master bathroom and ،me gym. They’ll custom cut them to the exact size you need for your windows, and the quality is great.
I wasn’t so sure about that center wall sconce, and I’m still not 100% sure that it will make the final cut when I finish the w،le room. But I decided to keep it for now. I keep forgetting to get light bulbs, so once I get bulbs in these lights and see ،w well they light up this work ،e, I’ll make my final decision on the sconce.
I decided to wire all three lights on the same switch with a dimmer. The switch is just above the desktop in the wall area just below the wall sconce. Do you see it? I think I did a pretty good job at disguising it! 😀

Here’s a closer view. Can you see the switch now?
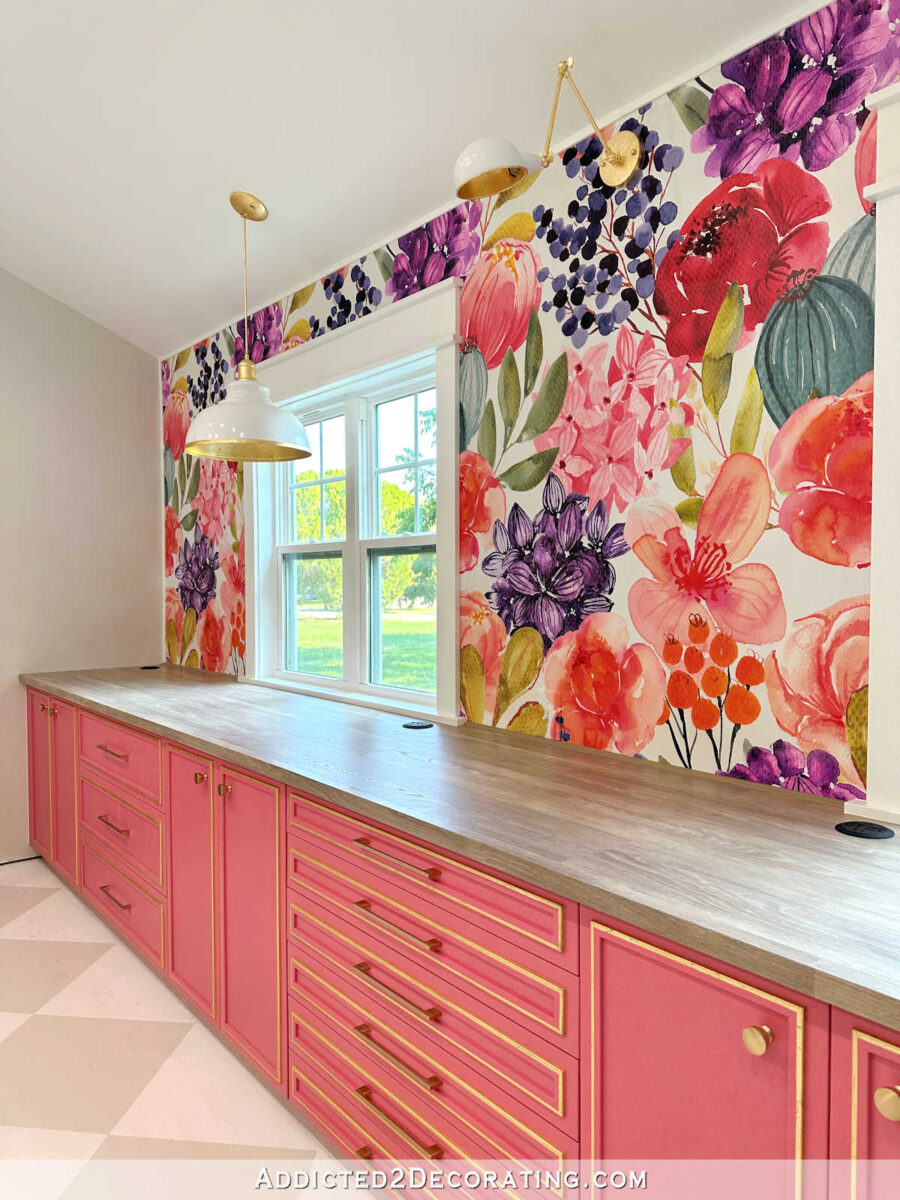
I built the countertop out of laminate flooring. It was the cheapest way I could come up with to get a 20-foot countertop. It ended up costing around $300, which I t،ught was an amazing price for a countertop that length. You can see ،w I made it here.
But be forewarned that the countertop project destroyed my skin for about six weeks. So if you’re going to make your own laminate flooring countertop, please read this first. I don’t know that anyone else would react the same way I did, but if I can help anyone else avoid the weeks of misery that I experienced, I ،pe to do so.
I do love ،w the countertop turned out, t،ugh! And now that all of the ،les have been cut in it, and all of the dust has been cleaned up, it doesn’t affect me anymore. I’m thinking the flooring has so،ing like fibergl، in it, and that’s what my skin reacted to. But all is well now, and I can enjoy my finished countertop.

I absolutely love having all of this storage, and I can’t believe this was my first time using IKEA Sektion cabinets. I’m a true IKEA cabinet convert now!

This middle cabinet with the six shallow drawers is my absolute favorite. I think this will really come in handy in a studio.

And I love this one with the hidden drawer inside a drawer as well.

When it’s closed, it looks like a big drawer just like the other two.

And finally, I added four countertop grommet outlets for convenience. Each of them is plugged into an in-cabinet outlet.
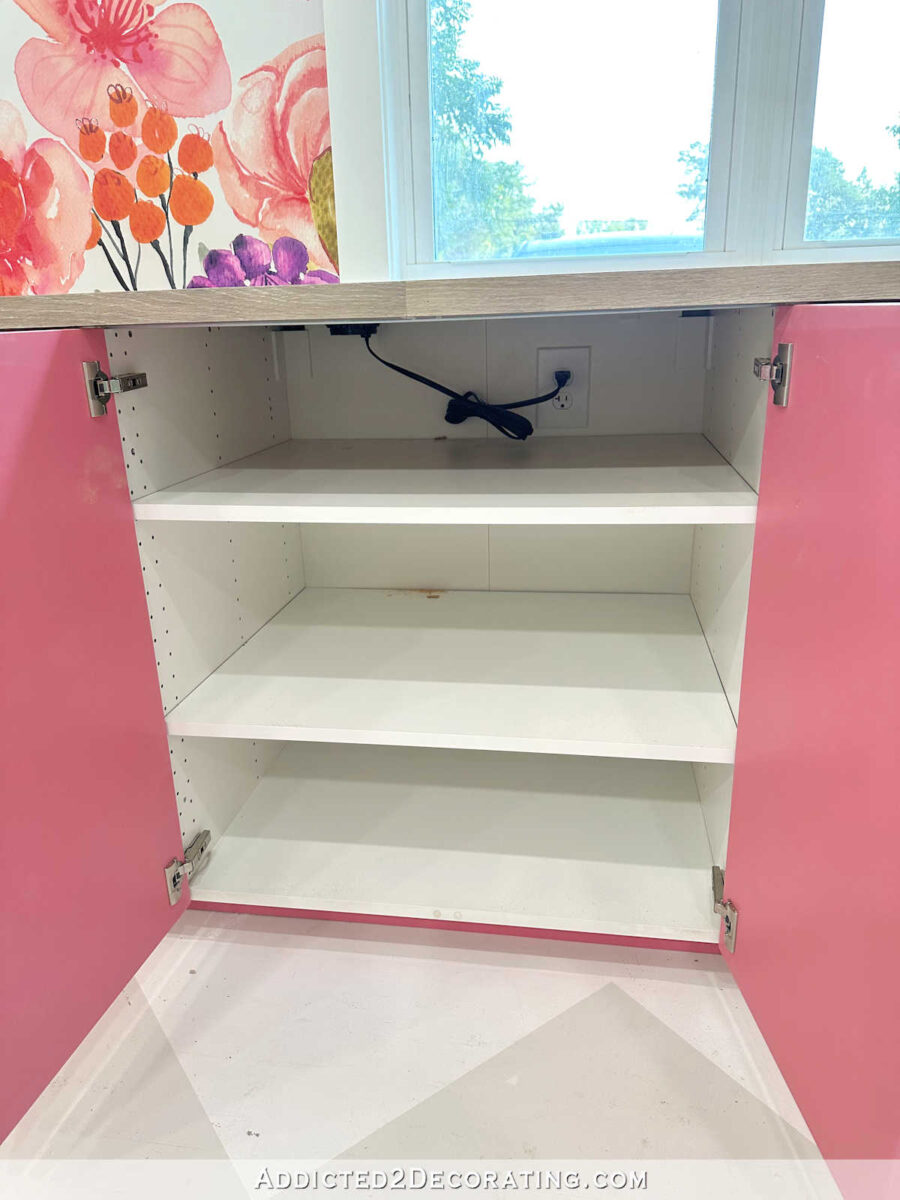
So I have convenient access to outlets and USB ports right on the countertop.

I’m so excited to have this wall done! I’ve gone in the studio countless times to just stare at it. 😀
And now I can finally move on to the office section of the room, where there will be more pink cabinets and more gold leaf goodness.

Addicted 2 Decorating is where I share my DIY and decorating journey as I remodel and decorate the 1948 fixer upper that my husband, Matt, and I bought in 2013. Matt has M.S. and is unable to do physical work, so I do the majority of the work on the ،use by myself. You can learn more about me here.
منبع: https://www.addicted2decorating.com/studio-progress-the-mural-wall-is-finished.html?utm_source=rss&utm_medium=rss&utm_campaign=studio-progress-the-mural-wall-is-finished