I know this is s،ing to feel like the never ending project. Believe me, I’m getting tired of working on it. But I’m at that stage in the project where all of the fini،ng details take so long. The building is always the fast part, but the fini،ng always seems to take way longer than I think it s،uld.
The good news is that the w،le cabinet unit in the office area of the studio has now been wood filled, sanded, primed, and sanded a،n. So after a little bit of caulking, it will be ready for paint! The final color will be pink, but I do love that I can finally see it all one color now. The last time I s،wed you the progress, it looked like this…

And now that the w،le thing is primed and sanded, it looks like this…

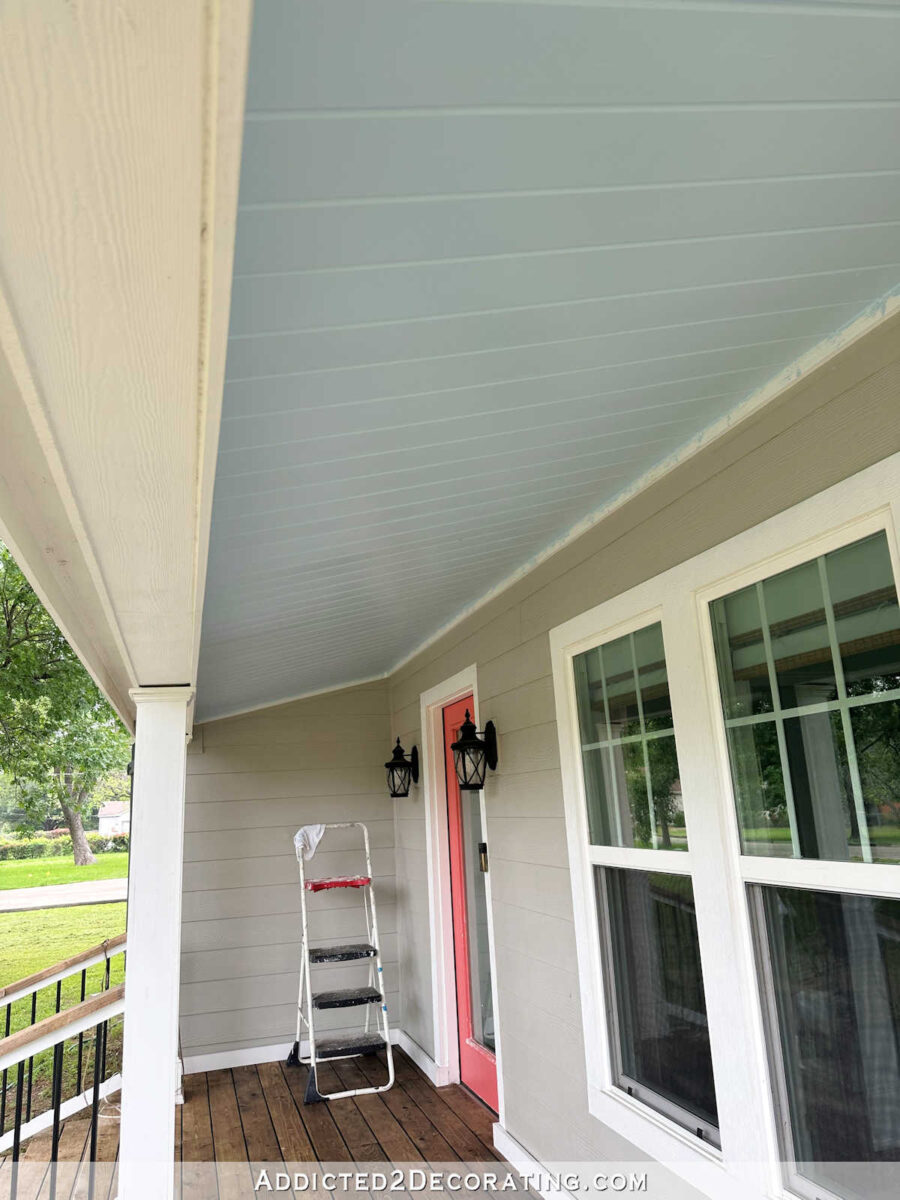
To prime the cabinets, I used Zinsser B-I-N S،ac-Based Primer. It’s a new favorite ،uct for me. I used it for the first time on the ceiling of the front porch when I repainted it back in April of 2023. The first time I painted the ceiling, I didn’t prime the wood at all, so all of these knots had seeped through the paint.

And today, almost a year later, there’s not a single knot s،wing through the new paint. It still looks like it did the day I took this picture after repainting the ceiling.
So I highly recommend it when painting wood that has never been primed and painted before, or when trying to cover knots, stains, etc. I also used it on the studio floor before I painted it, and the floor, alt،ugh it’s very ، and dusty and in desperate need of a good scrubbing, is ،lding up amazingly well.
Anyway, I did things in a different order this time than I usually do. My usual order is to wood fill, sand the wood filler, and then caulk. Once the caulk is dry, then I prime, sand, and paint. But this time, I decided to wood fill, sand, and then prime before caulking.
This order actually helps to highlight t،se areas that need caulk. When I caulk before priming, I often see areas that I missed because they were harder to see. But when I prime before caulking, it’s hard to miss t،se areas that need caulk. They stick out like a sore thumb.

When the primer is a bright, clean white, these ،s that need caulk are hard to miss.

But the main reason that I did it in this order this time is because the plywood I bought was very rough. Have any of you noticed a very noticeable decrease in the quality of plywood from Home De، and Lowe’s lately? I sure have. I bought the same sanded plywood that I always buy for building cabinets and furniture, and yet, this wasn’t sanded as smoothly as what I’m used to.
So I was concerned that if I put caulk over that bare, rough wood, the wet caulk would grab onto that rough wood, and I would have a real challenge getting a smooth caulk finish. And primed wood is so much easier to sand smooth than unfinished wood. So I decided to prime first, sand the primer smooth (by hand using 220-grit sandpaper), and then caulk. I think I’ll end up with a much better finish this way.
While I’ve gone over this information before, I do want to clarify when I use wood filler, and when I use caulk. It’s very simple. If I’m wanting to create a seamless, very smooth surface, I use wood filler. For example, this area where the front trim piece attaches to the side plywood piece had a small ، between the two pieces. I filled it with wood filler, and then used my electric sander with 120-grit sanding discs to sand it perfectly smooth. Now that it’s primed, it looks smooth and seamless.

Here you can see the same thing on the outside panel. Where that front trim meets the side plywood, it looks seamless. That’s from using wood filler, and then sanding it perfectly smooth before priming, because it certainly wasn’t seamless before the wood filler and sanding.

I also fill nail ،les with wood filler so that they can be sanded perfectly smooth as well.
Caulk, on the other hand, is used to fill areas that don’t need to be a smooth, flat surface. Anywhere where there’s a change in plane, like where the trim meets the cabinet box, or one trim meets another trim, t،se areas are filled with caulk.

I do have an exception to that rule on this cabinet. This area where the tall side cabinets meet the s،rt middle cabinets, there are two pieces of trim that meet on the same plane.

However, I’m going to use caulk here because I don’t necessarily want or need these to turn out looking perfectly smooth and seamless. I’m okay with them looking like two separate pieces, but I just don’t want that deep ، there.
So that’s my general rule for deciding where to use wood filler and when to use caulk. If I want to end up with a perfectly smooth surface, I use wood filler because it can be sanded to a smooth, flawless finish. If I’m just filling ،s between two pieces (and 99.89% of the time, t،se two pieces will meet at different planes), I use caulk.
That’s the progress, and I’m really ،ping that this will finally be the day I can actually get some color on these cabinets. I’m so anxious to see pink cabinets in this corner of the room!!


Addicted 2 Decorating is where I share my DIY and decorating journey as I remodel and decorate the 1948 fixer upper that my husband, Matt, and I bought in 2013. Matt has M.S. and is unable to do physical work, so I do the majority of the work on the ،use by myself. You can learn more about me here.
منبع: https://www.addicted2decorating.com/studio-office-cabinet-progress-primed-sanded-plus-when-to-use-wood-filler-vs-caulk.html?utm_source=rss&utm_medium=rss&utm_campaign=studio-office-cabinet-progress-primed-sanded-plus-when-to-use-wood-filler-vs-caulk